

TL;DR:
- Proper gear, timing, and location scouting are essential for successful city reflection photography in Japan.
- Post-rain blue hour and early morning are prime times for capturing vibrant reflections with minimal crowds.
- Patience, slow movement, and creative angles transform reflections into compelling, artistic images.
Capturing city reflections in Japan sounds straightforward until you’re standing in Shinjuku at midnight, rain-slicked streets glowing with neon, and every shot comes out blurry, overexposed, or just plain flat. The gap between what your eyes see and what the camera records can feel enormous. Missed timing, wrong gear, and poor positioning turn a potentially stunning image into a forgettable snapshot. This guide walks you through everything: the right gear, the best locations across Tokyo and Kyoto, a step-by-step shooting process, creative troubleshooting, and editing approaches that bring Japan’s urban reflections fully to life.
Table of Contents
- Essential gear and preparation for city reflections photography
- Finding the best reflection spots in Japan’s cities
- Step-by-step process for shooting city reflections
- Troubleshooting and creative variations
- Perspective: Why slowing down for city reflections will transform your photography
- Bring your city reflections to life: Take the next step in Japan
- Frequently asked questions
Key Takeaways
| Point | Details |
|---|---|
| Prepare gear and scout | Success relies on waterproof equipment, practice, and daytime location scouting. |
| Timing is crucial | Shooting just after rain in neon-lit cities like Tokyo gives the richest reflections. |
| Refine your composition | Use low angles, symmetry, and leading lines to elevate your city reflections. |
| Adapt to urban conditions | Tackle common obstacles creatively for original images that stand out. |
Essential gear and preparation for city reflections photography
Preparation is the difference between frustration and flow. City reflections photography in Japan demands specific tools and a clear mindset before you even board your flight.
Core gear checklist:
- Tripod: Essential for long exposures on wet pavement. A compact travel tripod works well in tight urban spaces.
- Fast lenses: A 24mm or 35mm prime lens at f/1.8 gives you flexibility in low light without sacrificing sharpness.
- Rain protection: A waterproof camera cover and a dry bag for your pack. Japan’s rain comes fast.
- Lens cloths: Carry at least three. Rain spray on your front element ruins more shots than bad composition.
- Remote shutter release: Eliminates camera shake during long exposures on reflective surfaces.
- Polarizing filter: Useful for controlling reflections in glass surfaces and reducing unwanted glare.
One of the most effective things you can do before your Japan trip is practice urban reflections techniques at home. Find a rainy night in your own city and work with puddles, wet sidewalks, and storefront windows. As Reflected City notes, amateur photographers benefit most from local rainy night practice before international trips, with a focus on rain gear, tripod stability, and building a sense of the “scene-within-scene” relationship rather than just pointing at a pretty subject.
Scouting locations during daylight hours is equally important. Walk your planned routes in the afternoon. Note where puddles tend to form, which streets have the densest neon signage, and where foot traffic thins out after midnight. This daytime reconnaissance pays off enormously once the sun drops.
| Gear item | Why it matters | Budget option |
|---|---|---|
| Travel tripod | Stable long exposures | Joby GorillaPod |
| Rain cover | Protects camera body | Generic sleeve cover |
| Prime lens (35mm) | Low-light sharpness | Nifty fifty at 50mm |
| Lens cloths (x3) | Removes rain spray | Microfiber cloths |
| Remote shutter | Reduces camera shake | Cheap wired remote |
For rain reflections advice specific to urban environments, PictureCorrect offers practical guidance on working with wet surfaces safely and effectively.
Pro Tip: Check the weather forecast the evening before each shoot. The ideal window is 20 to 40 minutes after rain stops. Surfaces are wet and reflective, but the rain itself won’t blur your lens or soak your gear.
Finding the best reflection spots in Japan’s cities
With your gear ready, your next step is choosing exactly where and when to shoot for breathtaking city reflections.
Tokyo and Kyoto offer completely different reflection experiences, and understanding that contrast helps you plan smarter.
| City | Best reflection type | Top locations | Best timing |
|---|---|---|---|
| Tokyo | Neon on wet pavement, glass towers | Shinjuku, Shibuya, Nishi-Shinjuku | Rainy nights, blue hour |
| Kyoto | River/canal reflections, lantern light | Gion, Shirakawa canal, Pontocho | Early morning, dusk |
| Osaka | Dotonbori neon on water | Dotonbori canal, Namba | After rainfall, nighttime |
In Tokyo, prime urban reflection spots include the wet neon streets of Shinjuku and Shibuya after rain, the glass skyscrapers of Nishi-Shinjuku, canals and rivers in Kyoto’s Gion and Shirakawa districts for traditional architecture reflections, and the Rainbow Bridge waterfront area. Each location has its own rhythm and light quality.
Shibuya’s famous crossing is visually stunning but extremely crowded. If you want clean reflection shots there, arrive by 5 a.m. on a weekday. Nishi-Shinjuku’s glass towers offer spectacular layered reflections during blue hour, when the sky still holds color and the office lights are blazing.
Kyoto’s Shirakawa canal is a quieter, more intimate experience. Wooden machiya townhouses and stone lanterns reflect in the still water, especially in autumn and spring. Explore top cityscape locations across Japan’s cities to build your shooting itinerary.
Best times to shoot city reflections in Japan:
- Blue hour: 20 to 30 minutes after sunset. Sky and artificial light balance perfectly.
- Post-rain nights: Wet pavement amplifies neon color and contrast dramatically.
- Early morning: Fewer people, calmer water surfaces, softer light in canal areas.
- Overcast days: Diffused light reduces harsh shadows in daytime reflection work.
Pro Tip: After rain, skip the famous spots and walk one or two blocks away. Lesser-known corners in Shinjuku or Gion often yield unexpected, crowd-free reflections that feel entirely your own. Check out Japan photo tour options for guided access to these off-the-beaten-path locations.
Step-by-step process for shooting city reflections
Once you have your ideal location set, here are the specific steps to craft memorable city reflection photographs.
- Arrive 30 minutes early. Set up before the light peaks. Blue hour waits for no one, and rushing your composition leads to sloppy framing.
- Position for symmetry. Look for a reflection that mirrors the main subject cleanly. A temple gate reflected in a canal, or a neon sign doubled in a puddle, creates instant visual impact.
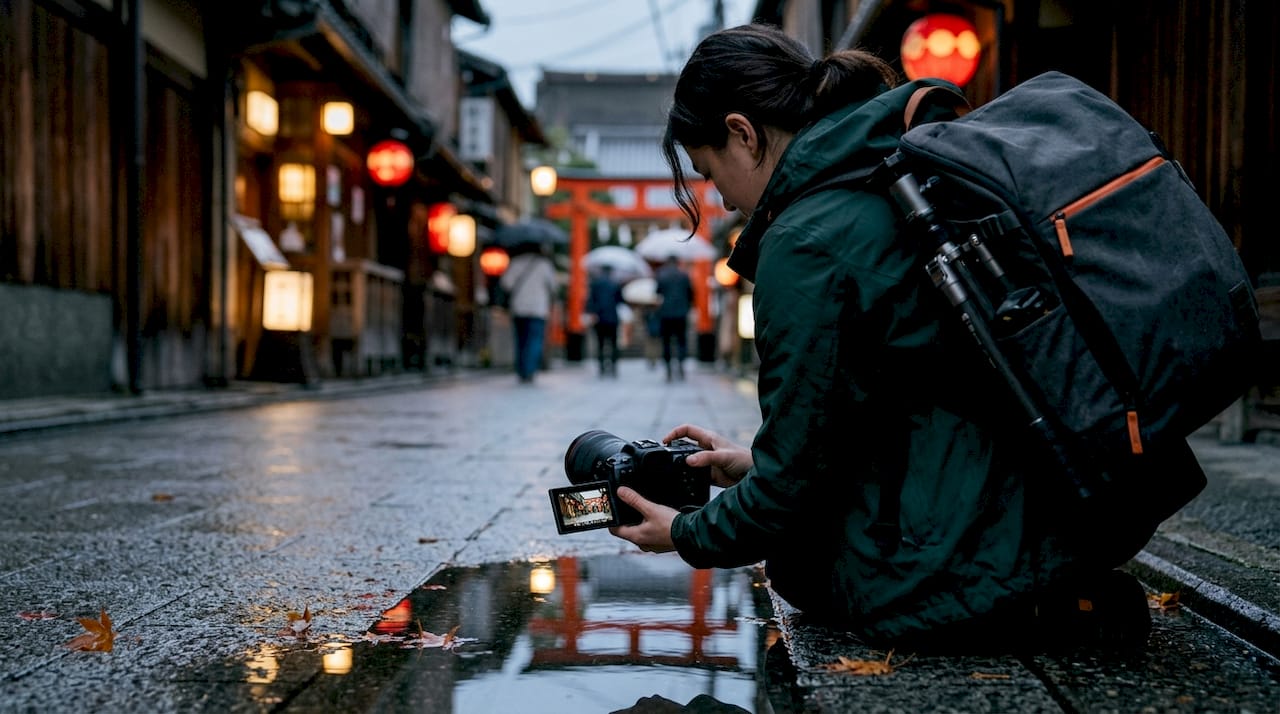
- Get low. Knee-height shooting transforms a flat puddle into an immersive foreground element. The reflection fills more of your frame and the perspective feels cinematic.
- Set your exposure for highlights. Neon reflections blow out easily. Dial your exposure down until the brightest reflected lights retain detail, then recover shadows in post-processing.
- Use leading lines. Wet tram tracks, sidewalk edges, and canal borders all draw the eye toward your main subject. These leading lines tips are especially effective in Japan’s grid-like urban streets.
- Move laterally. Don’t just shoot from one spot. Take two or three steps left or right and check how the composition shifts. Small movements change the relationship between subject and reflection completely.
- Bracket your exposures. Shoot at your metered exposure, then one stop under and one stop over. Reflections are tricky to expose in-camera, and bracketing gives you options in editing.
- Check for distracting elements. Parked bikes, trash bags, and passing pedestrians all interrupt clean compositions. Wait, reframe, or use a slower shutter to blur movement intentionally.
Study composition best practices to strengthen your framing instincts before you arrive in Japan.
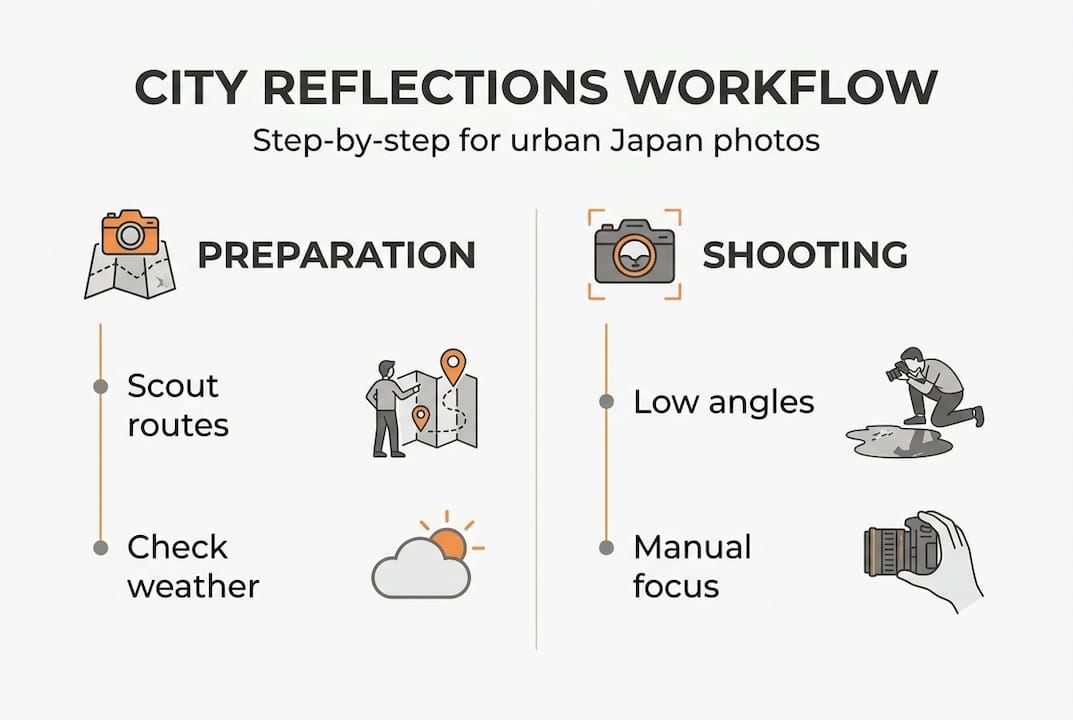
Pro Tip: Kneel down and position your lens just a few inches above the puddle surface. This low angle makes the reflection appear larger than the actual scene above it, creating a surreal, dreamlike quality that flat-angle shots simply cannot achieve.
Troubleshooting and creative variations
Even with the right steps, you’ll face unpredictable moments. Here’s how to solve problems and get creative.
Common problems and fixes:
- Ripples distorting reflections: Wind is the main culprit. Shoot in sheltered alleys or wait for calm periods. Early morning hours are almost always calmer than midnight.
- Moving subjects blurring the scene: Fast shutter speeds freeze cars and pedestrians. Alternatively, use a 1/4 second or slower shutter to intentionally blur movement and add energy.
- Glass reflections showing unwanted layers: Adjust your angle by moving closer or further from the glass surface. A polarizing filter also helps separate the reflected image from the interior scene behind the glass.
- Surfaces drying too quickly: Work fast after rain stops. Prioritize your best-planned compositions first, then experiment. Puddles in shaded areas stay wet significantly longer.
- Overexposed neon reflections: Dial down exposure compensation by one to two stops and expose specifically for the brightest reflected light source.
“The post-rain window, not the rain itself, is your golden opportunity. Calm conditions and wet surfaces together create the ideal canvas for urban reflections. Once that window closes, it’s gone until the next shower.”
For deeper urban rain troubleshooting, PictureCorrect covers specific techniques for working safely and creatively in wet urban environments.
Creative variations worth trying: shoot through a rain-covered window for a layered, textured effect. Use slow shutter speeds on busy Shibuya crossings to create light trails that double in the wet pavement below. Exploit distorted reflections in curved glass storefronts for abstract compositions. These approaches push your work beyond documentation and into genuine artistic territory. Explore travel photography improvements for broader creative strategies that apply across Japan’s cities.
Perspective: Why slowing down for city reflections will transform your photography
After troubleshooting and creative adjustments, it’s worth reflecting on what makes this approach so powerful for your photographic growth.
Most amateur photographers in Japan fall into the same trap: they shoot fast, cover ground, and collect images. City reflections photography breaks that habit completely. You cannot rush a puddle composition. You have to stop, look down, reposition, and wait. That enforced slowness rewires how you see.
Reflections demand observant shooting, which makes them one of the best skill-builders available to amateur photographers. You start noticing scenes within scenes. A Kyoto lantern reflected in the Shirakawa canal is not just a lantern. It’s a conversation between light, water, and architecture.
In Tokyo, that same approach transforms neon chaos into something layered and meaningful. The city stops being a backdrop and becomes a subject with depth. This is what separates photographers who grow from photographers who simply travel. Explore deeper reflection techniques to keep building on this observational foundation.
The gear matters far less than most people think. Light and angle, chosen with patience, consistently outperform expensive equipment used carelessly.
Bring your city reflections to life: Take the next step in Japan
Inspired to level up your city reflections photography? Here’s how to turn knowledge into unforgettable images.
Reading about technique is one thing. Standing in Shinjuku after midnight, camera in hand, watching neon light ripple across a rain-soaked street is something else entirely. That experience is what accelerates real growth.

Our Japan photography tours are designed specifically for amateur photographers from the United States who want to put these skills into practice across Tokyo, Kyoto, Osaka, and beyond. You get expert guidance, carefully timed itineraries around weather windows, and access to locations that solo travelers rarely find. Curious about how travel itself sharpens your creative eye? Read more about how travel ignites photo creativity and why Japan is one of the most rewarding places on earth to develop your photographic vision.
Frequently asked questions
What camera settings are best for capturing city reflections in Japan?
Use a low ISO (100 to 400), a narrow aperture around f/8 to f/11, and manual focus for precise control. Expose for highlights in the reflection itself, then adjust shutter speed based on whether you want to freeze or blur any movement in the scene.
When is the best time to photograph city reflections in Tokyo?
The best time is just after rainfall during blue hour or late at night, when rainy nights enhance neon and puddle effects across Shinjuku and Shibuya. That 20 to 40 minute post-rain window is consistently the most productive.
How can I avoid distracting elements in glass reflections?
Shift your shooting angle by moving closer to or further from the glass surface, and use a polarizing filter to separate layered reflections from interior scenes behind the glass.
Should I shoot alone or join a photography tour for urban reflections?
Both approaches have real value, but guided tours offer local expertise, weather-timed itineraries, and access to off-the-beaten-path reflection spots that solo travelers often miss entirely.
